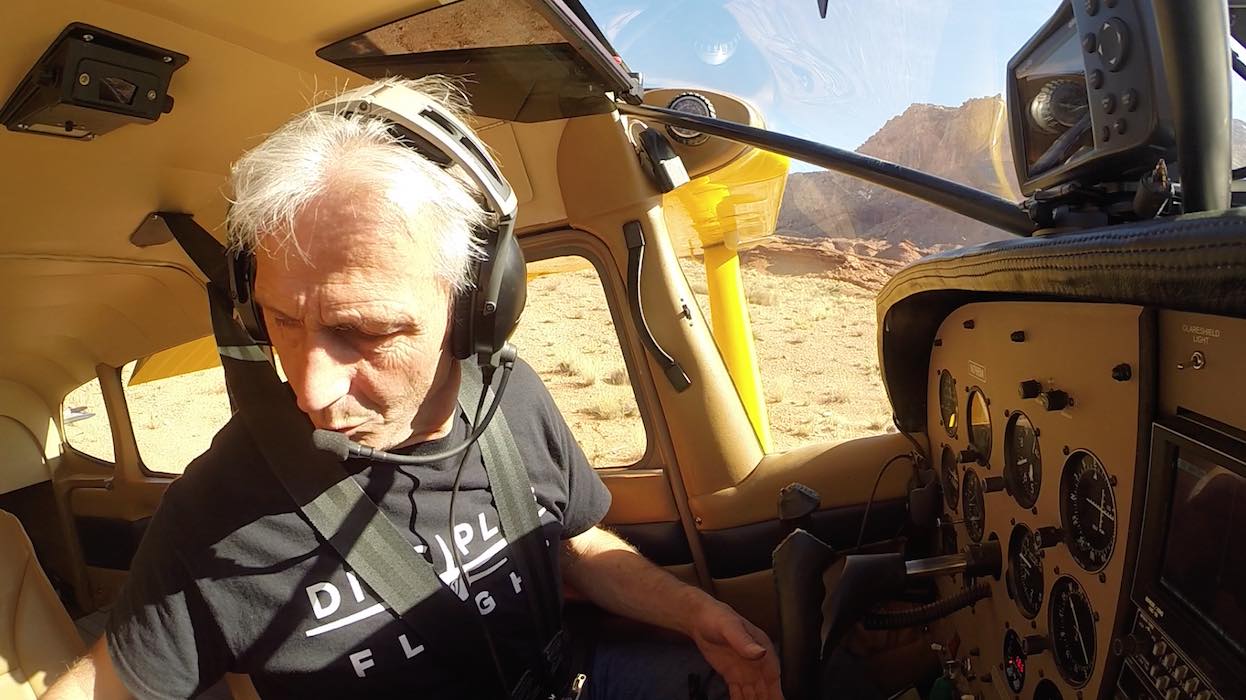
If you want to make aviation videos, a GoPro camera can be a great tool!
The GoPro camera is everywhere these days! You see people using them in just about every recreational sport, from skiing and snowboarding to surfing, skydiving, kayaking, and mountain biking. They’re affordable, portable, and can provide a very unique perspective of whatever they’re filming. And the impact they’ve had on how we film sports and other extreme and recreational activities is immense. So how did it all start? It’s an interesting story, but if you’re fired up for some great GoPro camera tips, just skip down to the section on tips!
A Brief GoPro Camera History
Well, it was 2002, and surfer Nick Woodman was on a surf trip to Australia and Indonesia. He was hoping that he would be able to get some sweet and gnar action video of his surfing, and to this end, tried rubber-banding a 35 mm camera to his palm. This didn’t quite work. But he could see a need. He and other amateur photographers were unable to get great footage because they couldn’t get close enough to the action, and they didn’t have easy access to professional, quality gear. So burning with a righteous desire to have a camera that would get him the professional angles, Nick founded the ‘GoPro’ business.
To raise money for his venture, Woodman and his wife sold bead and shell belts they had purchased in Bali at a cost of $1.90 per belt. Driving their VW van up and down the California coast, they re-sold these belts, sometimes for as much as $60. He also borrowed some money from his investment-minded parents, and armed with $35,000 from Mom and $200,000 from Dad, he got to work on a prototype.
Woodhouse spent two years developing the first GoPro, a point-and-shoot 35 mm film camera that mounted to the user’s wrist. He debuted the camera at the San Diego Action Sports Retailer trade show in September 2004. During the first year, he sold $150,000 of product. Encouraged by this, work began on the first digital GoPro. This debuted in 2006, with the ability to shoot 10 second video clips, and pulled in another $800,000 in revenue. The next year, sales skyrocketed to $3.4 million. By 2012, the GoPro Camera was selling 2.3 million cameras, and generating nearly a billion dollars a year in revenue. Not a bad decade.
GoPro Camera Models
Over the years, the GoPro cameras have evolved, adding waterproof cases, micro-SD card recording, higher framerates, better resolution, remote controls, Wi-Fi support and more. Here is a quick history of the evolution of the camera:
GoPro HERO 35mm, All-Season Sports Camera
This original GoPro was made available to the general public (after it’s trade show debut 2004) on 13 April 2005. It was 2.5 by 3 inches and weighed a mere half a pound. The camera came with a clear case, camera strap and a roll of 24 exposure Kodak 400 film. It was functional to about 15 feet deep in water.
Digital HERO 3
The first digital GoPro camera, released in 2007, had a 3 megapixel camera, and shot standard definition video at a resolution of 512 x 384, in 10 second bursts. It was rated to almost one hundred feet in water.
Digital HERO 5
Released in December 2008, the Digital HERO 5 sported a 5 megapixel still camera, and still shot video at 512×384. Running on two AA batteries, it had a 16 MB internal memory, and could take a 2 GB SD card. This was the first GoPro camera sporting an ultra-wide lens.
HD HERO
Debuting on 25 January 2010, this model was the introduction to the GoPro camera for many people. Finally able to shoot 1080 HD video, with a 5 megapixel sensor, the camera was released with a boat load of accessories, from helmet and chest harnesses, to bike, steering wheel and surboard mounts.
HD HERO 2
On 24 October 2011, the HD HERO 2 hit the scene. It was sporting an 11 megapixel image sensor, offered a higher quality 1080HD image, and the ability to shoot up to 120 frames a second at standard definition.
HERO 3 and 3+
Evolving at a faster and faster rate, the HERO 3 cameras dropped in late 2012 with 3 different edition: Black, Silver, and White. All these models came Wi-Fi equipped, and were 30% smaller/slimmer, and 25% lighter. The white edition used the same 5 Megapixel sensor as the original HD HERO, and was capable of shooting 1080HD footage at 30 fps. The Silver sported the 11 Megapixel sensor of the HD HERO 2, and could shoot 1080HD footage at 60 fps. But the black sported a new 12 megapixel sensor, and was the first GoPro capable of 4k footage, at 15 fps. It also shot 2.7k up to 30 fps, 1440HD at up to 48 fps, 1080HD at up to 60 fps, 960HD at up to 100 fps, 720HD up to 120 fps, and SD up to 240 fps.
Dropping in October 2013, the HERO 3+ models had better low light performance, improved image sharpness, better audio funtionality, and increased battery life.
HERO 4
Arriving in September 2014, the current GoPro camera models, the HERO 4 Black and Silver editions, come loaded with options.
HERO 4 Black Edition Specs:
– Supports 4K30, 2.7K50, and 1080p Video
– Capture 12MP Photos at 30 fps
– Ultra Wide, Medium, and Narrow Field of View Settings: These help you choose the preferred perspective, be it wide-angle and inclusive, medium for a bit of focus, or close-up
– Wi-Fi and Bluetooth Connectivity: Pair it with a mobile device or the separately available Smart Remote, Control of up to 50 cameras from distances of up to 600’line-of-sight
– Protune for Photo and Video: Gives you manual control over color, ISO limit, exposure, and more
– QuikCapture: Power the camera on and start recording automatically with the press of a single button
– HiLight Tag: Tag the highlights in your videos during recording for easy retrieval and playback later
– Interval Capture for Time Lapse
– Auto Low Light and Night Photo Modes: Take photos at user-defined intervals to use in time-lapse videos — .5 sec, 1 sec, 2 sec, 5 sec, 10 sec, 30 sec, 60 sec
– Flat and Curved Adhesive Mounts Included
– Built-in Mic, HDMI, USB, MicroSD
– Waterproof Housing Depth: 131.0′ / 40.0 m
Silver Edition Specs:
– Supports 4K15, 2.7K50, 1080p60 Video
– Capture 12MP Photos at 30 fps
– Built-In Touchscreen Display
– Protune for Photo and Video: Gives you manual control over color, ISO limit, exposure, and more
– QuikCapture: Power the camera on and start recording automatically with the press of a single button
– Ultra Wide, Medium, and Narrow Field of View Settings: These help you choose the preferred perspective, be it wide-angle and inclusive, medium for a bit of focus, or close-up
– Camera Housing Waterproof to 131′
– Wi-Fi and Bluetooth Connectivity: Pair it with a mobile device or the separately available Smart Remote, Control of up to 50 cameras from distances of up to 600’line-of-sight
– Interval Capture for Time Lapse
– HiLight Tag: Tag the highlights in your videos during recording for easy retrieval and playback later
– Auto Low Light and Night Photo Modes: Take photos at user-defined intervals to use in time-lapse videos — .5 sec, 1 sec, 2 sec, 5 sec, 10 sec, 30 sec, 60 sec
– Works with Optional Smart Remote
– Flat and Curved Adhesive Mounts Included
– Built-in Mic, HDMI, USB, MicroSD
– Waterproof Housing Depth: 131.0′ / 40.0 m
GoPro Camera Tips
OK. Now let’s end this history lesson, and get to the good stuff! Here are some tips on using a GoPro camera to make aviation video as nice as possible:
Tip 1: Perspective
The GoPro camera (much like all action cameras) is small. This is probably their greatest strength, because you can get those little suckers into just about any crack or crevice. This sets the camera up to be excellent, if not unique, in its ability to capture videos and photos from an interesting and rarely seen point of view.
Couple that with the fact that the camera has a ridiculous wide angle lens on it and a tiny recording chip and what you have is the potential for an image that, although not the highest in quality, is fantastic for perspective.
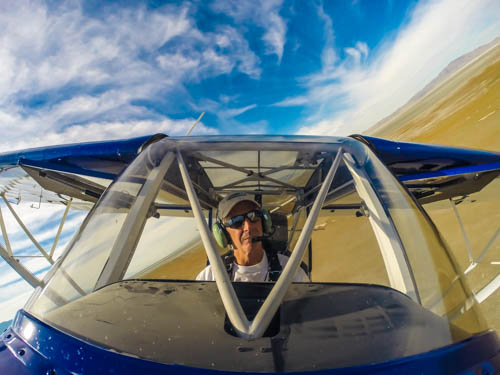
Don’t just put the camera on the dash, or even the ever common “on the wing” shot, but try and think of it in terms of fixing on a point of reference like an arm that moves and also views moving objects. Here is an example taken by Jim Hoddenbach:

Here is a very bizarre example of a creative use of the camera’s amazing ability to show simple things in a new way through perspective. This is not an aviation example, but it should get the idea across:
Try and imagine a perspective that will put the viewer in a place where they would NEVER see the action normally.
Tip 2: Use the wide angle lens to bend reality
We have all seen this done with pet photos:

This happens because a wide angle lens exaggerates spacial relationships in a photo, or on video. It makes small distances look great and great distances look like miles.
So when you place part of the pet (like the dog’s nose) closer to the lens and the rest of the pet (like the dog’s body) is farther away, it bends that image shrinking what is far away and growing what is close.
This gives you the ability to accentuate the shape of your object or point of focus. This makes a kind of alternate reality that draws the attention of the viewer to a single focus.
Tip 3: Always Shoot in 60p
I know, I know, you want to get that extra resolution from the GoPro because you believe that helps the image look “higher quality“. My advice: It isn’t gonna look high quality no matter what you do: IT’S A GOPRO!
However, you can get that extra creamy look of high frame rate video out of the 720 resolution (or on some units even 1080). On top of that, if you need to stabilize the footage (to take out the handheld shake or some vibration in the shot), then you will have a much easier time of it and get better footage from 60p. This becomes especially important in aerial work, as you will more often want to smooth out turbulence and such, and any motion blur will destroy the ability of the software to give you nice looking stabilization.
Tip 4: Forget 4K
‘4k’ or ‘Ultra High Definition’ are buzz terms for cameras these days. Heaven knows I love my 4K Blackmagic and adore the Sony F55. As useful as 4k is when shooting professional video, it’s a useless feature on a GoPro camera. Frame rates not only go down in this mode, but so does your ability to work with the footage on your computer, unless you have a beefy machine, and/or a editing program like Davinci.
The compression on GoPro footage is intense enough, and if you add the extra size of the clips, it isn’t worth the pay off. Maybe next year, when they release a 6k GoPro, then the 4k will be in 24 and 30p and computers will be (yet again) twice as powerful. Then we can talk. But until then, forget 4k.
Tip 5: Get the App
On some GoPro camera models, you can use the app to trigger video recording or activate the shutter from your phone or tablet. This is a cool feature! Not only does it allow you to see the actual image (view finder style) and adjust it, but it allows you to wait to record until you are flying over that really cool rock formation, or lake, or by the mountains, or over your house, or whatever it is you had in mind in the first place. This makes the battery last when you need it to last, the memory cards don’t fill up so quickly, and you don’t have tons of unwanted footage you have to dig through and deal with later, when you just want that one part.
If you can’t get the app, or just don’t want it, then there is the camera’s “One-Button Mode“. This is handy because it makes the camera record or shoot photos the moment it’s powered on. That way you aren’t wondering if you started recording.
Tip 6: There are never enough mounts
No matter what you think, there is no good substitute for the right mount. Taping a GoPro to an airplane is pretty sketchy and in my experience never yields the good results you were after. It’s our opinion and experience, after YEARS of trying to circumvent this, that getting a healthy set of mounts is critical to being able to have the fun you envisioned when getting this camera.
There are a variety of accessories offered by GoPro, such as mounts, harnesses, suction cups (more on these in tip 10) and more. I would say it’s just a part of the purchase if you want to be effective, so get em all. To that end, Soft Digits makes a great all in one Accessory Kit HERE.
Tip 7: Solar Charger
It never seems to matter what camera I am using, I simply never have enough power. I really enjoy taking video and photos and there seems to be no end to the flow of ideas I would like to try, and the number of failures I have to go through to discover a really great shot. So my batteries are always dying prematurely, leaving me wanting.
So I invested in a solar charger. Now there are a lot of these on the market, and just about any of them will do a good job, but I happened to know the founder of Goal Zero. That being the case, I happen to prefer the Sherpa 50 Solar Kit.
The reason I like this kit (and it’s pricey!) is because I also use Foreflight on my iPad air, and I do a lot of cross country flying. This cool kit will let me charge my phone, my iPad, and my GoPros! With the solar panel, I can also keep the charging station full of power even on overnight stays in the backcountry.
You can check it out here: Sherpa 50 Recharging Kit w/Inverter
Tip 8: Working with your Footage
There are a few key things I do with the media from my GoPro camera before editing. (Your results may vary depending on your HERO settings, and the software you use.)
I dump all of the footage right from the memory card onto my hard drive. I never try and access the footage from the memory card, not even if it’s a thunderbolt connection or USB 3. It’s not gonna be a fun experience if you do that.
Once safely transferred, some people will use Adobe Bridge to batch rename the files from “GOPR—-.mp4” to something a bit more descriptive. I personally like using GoPro’s speedy Cineform app to transcode the footage, after which I rename the clips.
Now, I have a love affair with Davinci Resolve for editing. I know Jim likes Final Cut Pro, and I have editors who work for me who swear by Adobe Premier. It’s my opinion that you are gonna have to bite the bullet and learn a NLE (non linear editor). Don’t look around for the “best one“, because there isn’t a “best“. They are all very powerful and very cool.
That being said, Davinci Lite is free and the rest cost a bunch of money and are equally as confusing at first. We have considered teaching a editing course for those of you who dabble and want to get better, and we might do that in the future, but for now, trust me, they are all just fine. In fact, Sony has a good product called VEGAS that’s also pretty cool.
Tip 9: Audio
If you expect your GoPro camera to be a viable audio recording solution, you are a crazy person. That being said, it’s wonderful to pair good audio with the GoPro footage. Audio is a commonly overlooked part of any good video. What we do is use a external recorder called the H4N Zoom. It’s actually what I use in professional recordings as well. Here is a commercial we shot for a cooperate client who is in retail for Kids Clothing and such:
As you can see the audio is quite nice.
How you sync that audio with your GoPro footage is simple enough. Just place your hands in front of the GoPro Camera after you start recording and clap as loud as you can. The H4N will pick up that noise and the GoPro will too. In post, line the sound of the “clap” from the H4N’s audio and the GroPro audio’s “clap”. Once that’s done, delete the GoPro audio track and presto: delicious, high quality sync’d up audio! (It’s the poor mans’s slate.)
You can also download an app on your iPad or phone called “MovieSlate” and use that to make the audio mark. Although I will tell you that the hand clap is just as effective, and free, as long as you have hands.
The GoPro camera can also receive audio right into it through the use of a cable accessory. This is handy for going straight into the radio system on the aircraft, and can yield some cool results (no slate needed!)
Tip 10: Be Careful with Suction Cup Mounts
This does not happen to everyone, but it is worth noting that the suction cup can leave a permanent ring on plastic windshields, and they can damage the fabric covering on an aircraft. Like I said, it’s not always, and I have found that most suction cups made specifically for the GoPro are fine on wind shields. However, there are some third party suckers that really leave a mark.
Tip 11: Neutral Density Filter
I love a good prop blur, and so does Jim. I hate it when the prop gets broken up and bent by the rolling shutter on the GoPro. One great way to compensate for this is get the neutral density filter for your GoPro. With that on, the camera’s auto exposure system will slow the shutter and fix a lot of the weirdness that manifests from the propeller when using these cheaper cameras. It’s not perfect, but it’s MUCH better. You can find that HERE.
I hope these tips have helped, or will help you on your adventures in Aviation + Actioncam experiments. We would love to see your videos if you make em, and show them off on the site. Just contact us here with a link and we will take a look.