The Ins and Outs of How to Detail an Airplane
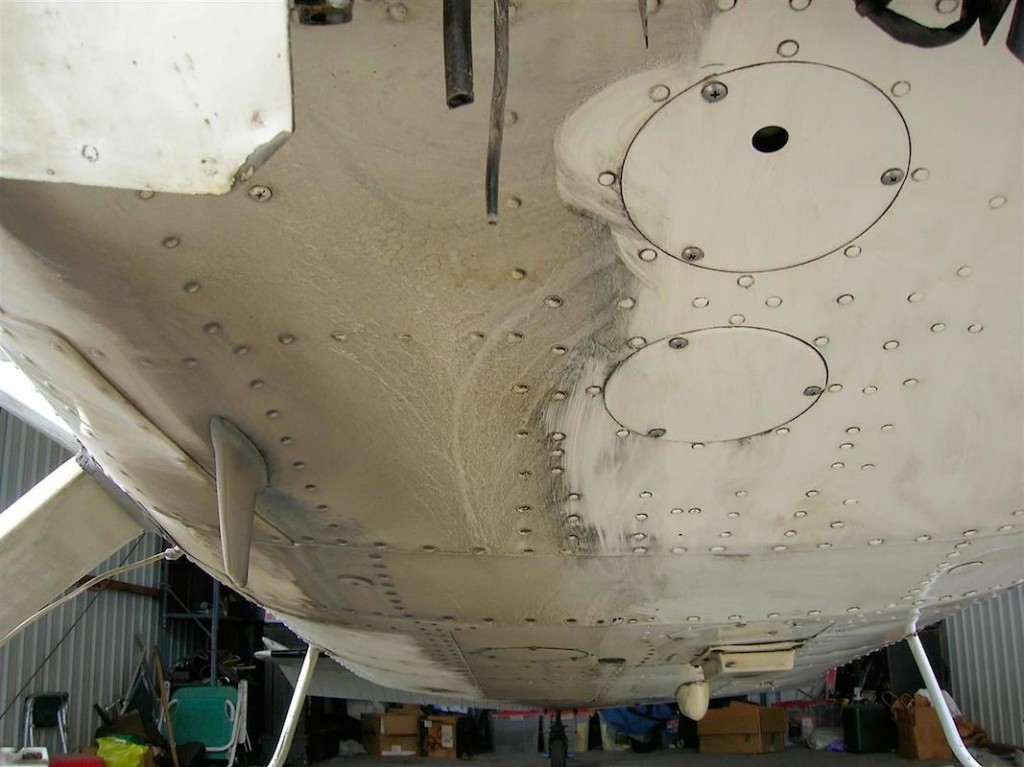
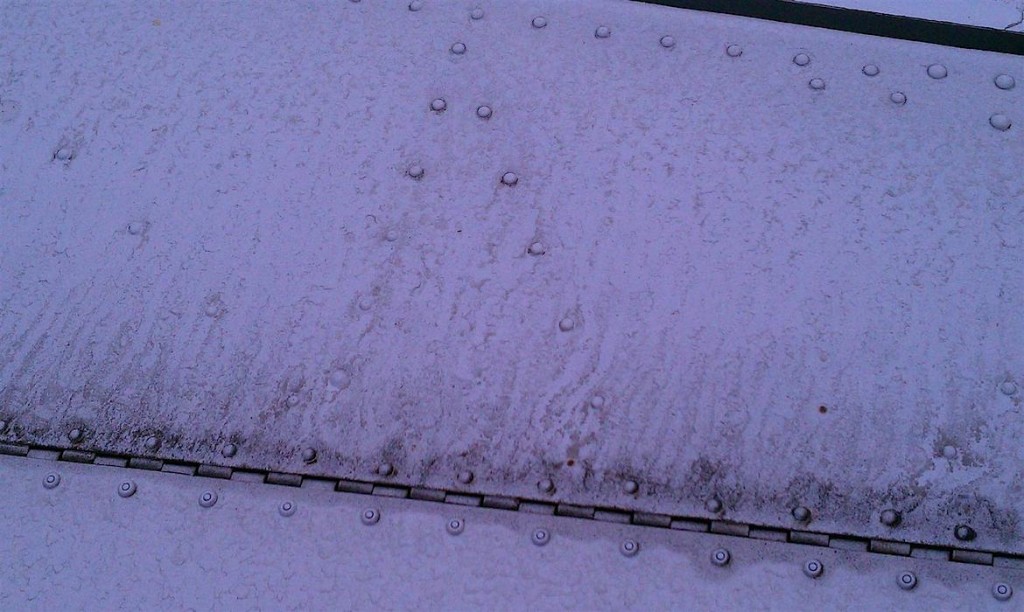
Is your airplane looking a bit less than clean these days? Unhangared airplanes accumulate dust, soot, and dirt rather quickly. Even hangared airplanes begin to accumulate grease and oil on the underside as they’re flown.
Antennas located under your airplane can quickly become covered in gunk, which can greatly inhibit reception. Next time you go out to your airplane, you might want to take a close look at the paint and underbelly. Keeping your plane clean and waxed helps preserve the paint and thus your aircraft’s value. Some swear it even increases airspeed a few knots! And it doesn’t have to take that long. Let’s look at several ways you can clean your airplane, depending on where it’s stored, the quality of your paint, and how much time you have. Having detailed over 100 aircraft in various environments to unanimous approval, I feel equipped to share some pointers, cautions and great products I’ve discovered.
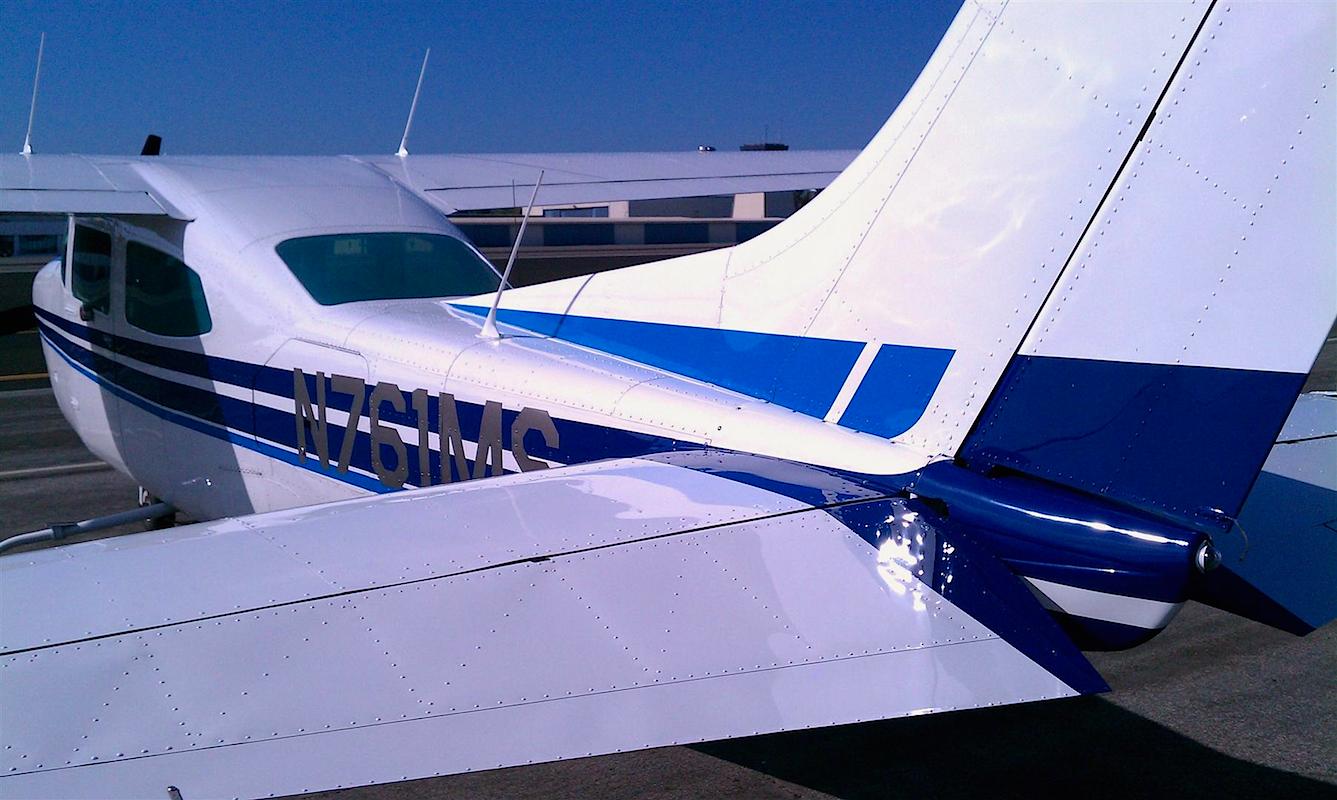
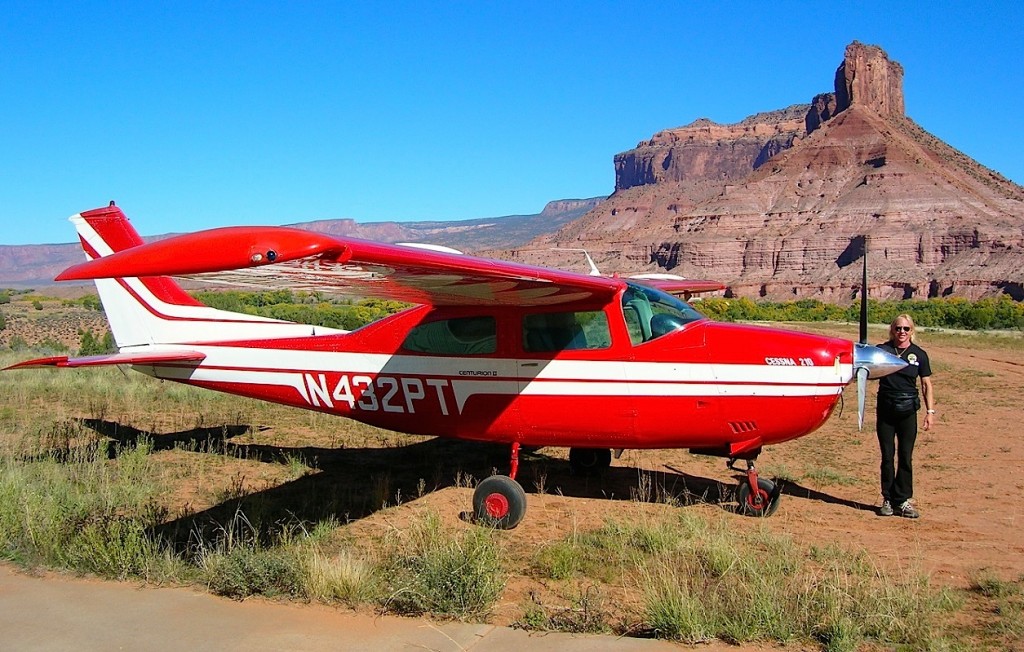
We had a Cessna 210, based at Santa Monica, California (SMO). If you’ve heard anything about SMO, you know that the city basically hates the airport and is spending millions trying to close it. Their current tactic is slow death by strangulation: hefty landing fees, curfews, etc. When we purchased our 210, we immediately added our names to the waiting list for a hangar. In the meantime, the plane sat outside, at an airport less than 3nm from both LAX and the ocean. Soot, salt air, and dust were always a problem. There are plenty of hangars at SMO, but many of them are filled with documents, cars, motorcycles, etc., instead of airplanes, or used as offices or art studios. We never did get a hangar.
At each annual, I “assisted” the mechanics, opening and closing inspection plates, removing and replacing seats, and other mundane tasks. And while the mechanics worked, I also waxed our plane. Then I started getting called in to detail other owner’s aircraft during maintenance or annuals. Eventually, it grew into a business. I had a loyal clientele at several local airports who trusted me to detail their airplanes.
Many of my clients had their aircraft damaged by other detailers, especially those who used orbital buffers. I believe it is best to detail an airplane by hand. An airplane is not a car. A car is designed to withstand abuse; an airplane is as delicate as a bird. Door handles, antennas, and ailerons can easily be bent or broken by a careless hand. A careless foot will dent a plane’s thin skin in a heartbeat: you know that, but don’t forget to tell your passengers!
Cleaning the Airplane
Before you apply your wax or other compound, you must first clean the surface.
How you do this depends on a number of variables. The best solution is to wash the plane with water to remove dust and dirt; certainly a requirement with new, shiny paint and a hangared plane. Drop the flaps and then use a hose to wet the plane, but never use high pressure! Many airplanes have leaks around the windows or fuel caps and you’ll force water inside. You don’t want water in the static ports either, so you may to tape over them. And especially do not spray your wheels. Water will remain inside and corrode the bearings, which can create break problems. Next, quickly sponge the plane, rinse, and then remove tape from the static ports if you taped them. For windows, gently remove dust with water via hose or spray bottle if cleaning as below, and dry with soft cloth.
Many aircraft I cared for were not hangared, had older paint jobs and busy owners who lacked the time to taxi the aircraft to the wash rack. Here’s how to clean the surface without a hose: First go over the entire plane using the inside of an old reliable rag or cloth, gently wiping dust off and shaking out the rag. Then turn it inside out and repeat, this time spraying the surface with a 10% solution of Simple Green for Aircraft and water. You’ll now remove bug strikes, bird droppings, soot, and dirt—don’t forget the prop, front and back. For a low-wing aircraft this might take 45 minutes; skip this step for the tops of a Cessna’s wings (more on that below). Remove smudges on your interior plastic with your 10% solution and a small rag.
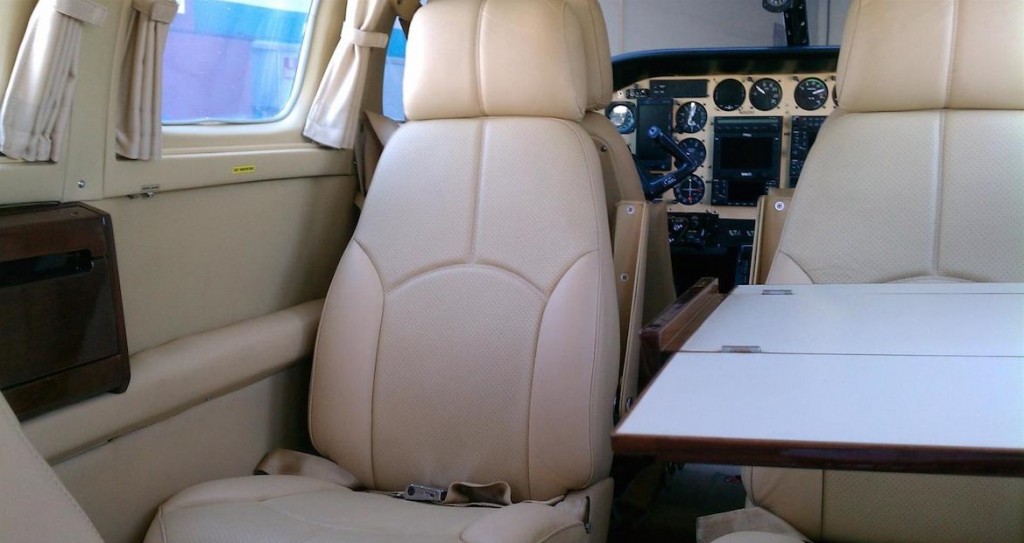
If you have an electrical outlet nearby, you can vacuum your carpets or even steam-clean them with an attachment if you have one. Do this before waxing and leave the doors open, and the carpets will dry while you work.
Waxing the Airplane
Now you’re ready to apply the finishing product. Unhangared aircraft will soon be dirty and should be detailed at least three times a year. In this case, I use a carnauba cleaner-wax like Mothers, which is a one-step process. Wear latex dish gloves and use a cloth or applicator pad to apply it, and work in sections. How big a section depends on temperature and whether you’re in shade or sun. Do smaller sections when it’s hot and/or in the sun. And don’t forget sunscreen, hat, and sunglasses! Of course, it’s preferable to be in shade or indoors, but I often did not have that luxury. Many owners simply asked me to detail the plane at the tiedown. It can be done, and it’s what I did for our airplane. Rub in the wax, which has cleaners to remove impurities from the paint, and then let it dry and wipe off with another old rag or old t-shirt. Then go over it again with a micro-fiber towel to bring out the shine. If you’re outdoors and if you need a ladder to reach a high tail or the tops of high wings, do those early in the day before it gets windy. It’s no fun to be up on a ladder in the wind. Regarding high wings, to reduce the number of times you climb up and down that ladder, bring along your dusting rags and 10% solution and do the wings in sections: dusting, cleaning, and waxing, then shift the ladder to the next section.
A small low-wing like a Mooney M20 took me 3–4 hours, 4–5 for a Bonanza, 4–7 for a Cessna, and 7–9 hours for a twin. However, if your airplane sits outside and you just want to spruce it up before you take some friends up in it, you can do the fuselage quickly in under an hour. You don’t have to do it all at once. The more often you clean your airplane, the quicker it will be each time.
If the aircraft is hangared with a nicer paint job, you can use a polymer blend, two-step process. This will take twice as long, so you may spread the work out over two or three days, but it will last a year. First, wash the plane as described above. Bring it back in the hangar and then apply Voodoo Wax Cleaner Polish, which will remove soot and impurities in the paint, as well as small scratches. Apply it like wax and use some elbow grease, then remove with an old rag and follow with a micro-fiber towel. Follow with Voodoo Wax Racing Formula for shine. This is a specialty product, and it’s currently only sold directly through Voodoo Wax or through Aircraft Spruce. One bottle of each is enough for one plane.
Airplane De-Greasing
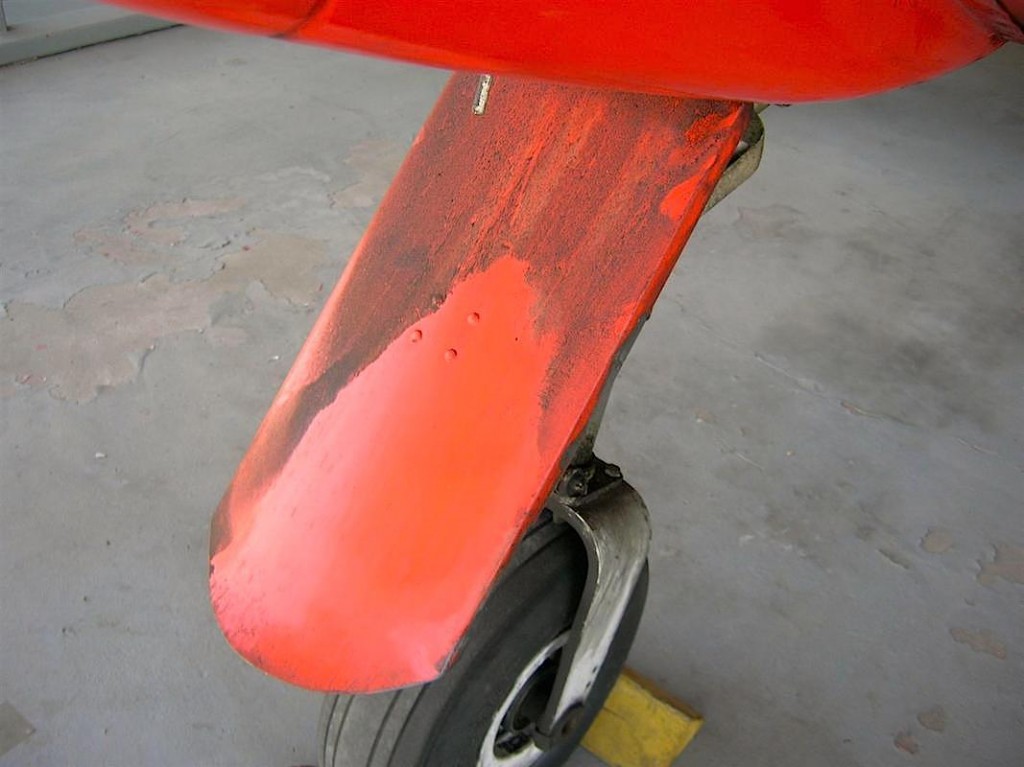
By this point, you’re getting tuckered, so it will feel nice to lie down on a creeper for the de-grease. Tie up long hair or it will tangle in the wheels (ask me how I know!) I’ve used many expensive specialty products, but I’ve found that full-strength Simple Green for Aircraft works just as well. I usually begin under the elevators and wings, looking for spots of dirt and smudges, and then move from back to front on the fuselage. Lie upwind of your spray or it will go into your eyes! Just spray and wipe with an old rag or t-shirt (you’ll want to throw these away when you’re done). As you approach the front, the grease will get thicker and may require multiple passes. Even as the rag becomes saturated, it continues to work just fine. Your antennas will work better with that gunk off! Now you can gently wipe the gear and wheels, since you didn’t wash them with the hose.
Again, the more often you do this, the quicker it is each time. Your dusting and wax-removal rags can be washed and re-used, but as mentioned before, the de-grease rags should go in the trash.
The Metal Surfaces
Unpainted spinners, props, or paint require metal polish. Our old prop and spinner were unpainted, and the salty sea air kept taking the shine off. I was disappointed with every metal polish I tried until a client showed me his, which is the best: California Custom Aluminum Deoxidizer and Purple Metal Polish (use both together). Finish your windows with a micro-fiber towel and Plexus spray.
If you are interested in custom airplane covers to help protect your airplane, especially if unhangared, Bruce’s Custom Covers makes custom spinner, canopy and cockpit covers.
In Conclusion
Each time you detail your plane, it gets easier and looks better. If you de-grease several times a year, it won’t build up. It’s a point of personal pride to have a clean and shiny plane, and it gives confidence to otherwise hesitant first-time passengers. It’s great exercise, too!
(Almost all of the products mentioned in this article are available at awesome prices over on Amazon.)


Crista,
Good article! I’m an Idaho native, currently living in Indiana and flying commercially for a company based in Kansas City. Middle Fork of the Salmon River airstrips are on my bucket list…
/Tim
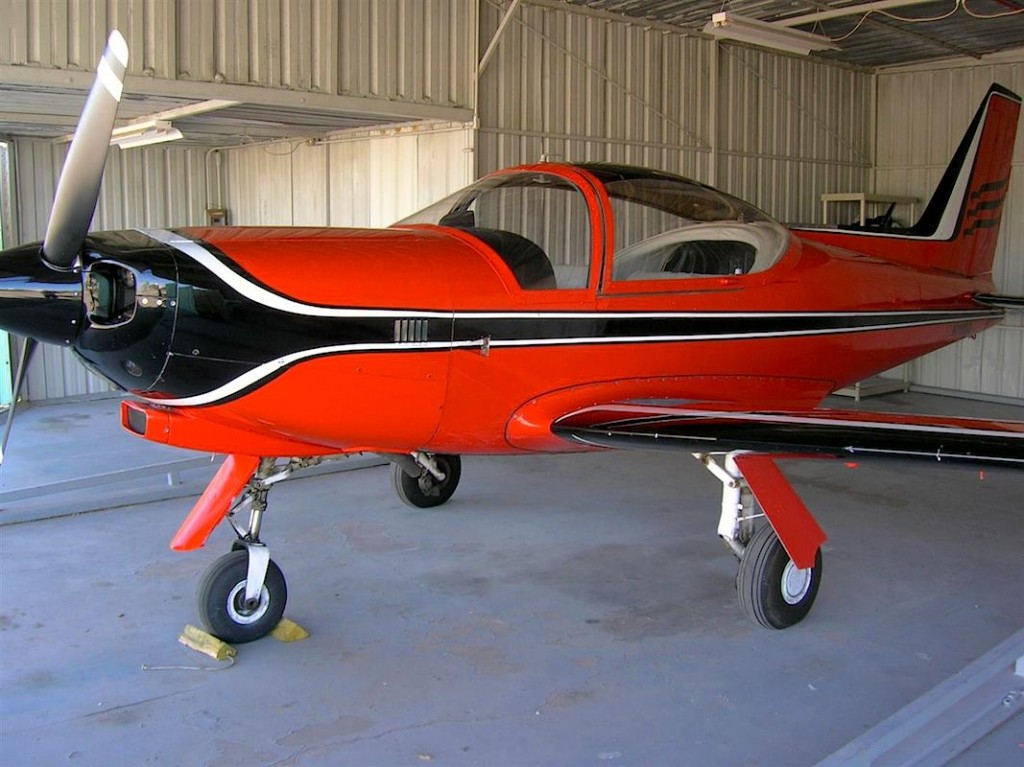
What model is that orange low-wing plane shown in the article?
Joseph,
That is an SIAI-Marchetti SF.260B. It’s a two-seater.
I want to thank you for your advise i am buying a Piper Arrow Saturday and want to make sure, it gets the best care possible